

Prepare Artwork for Box Printing
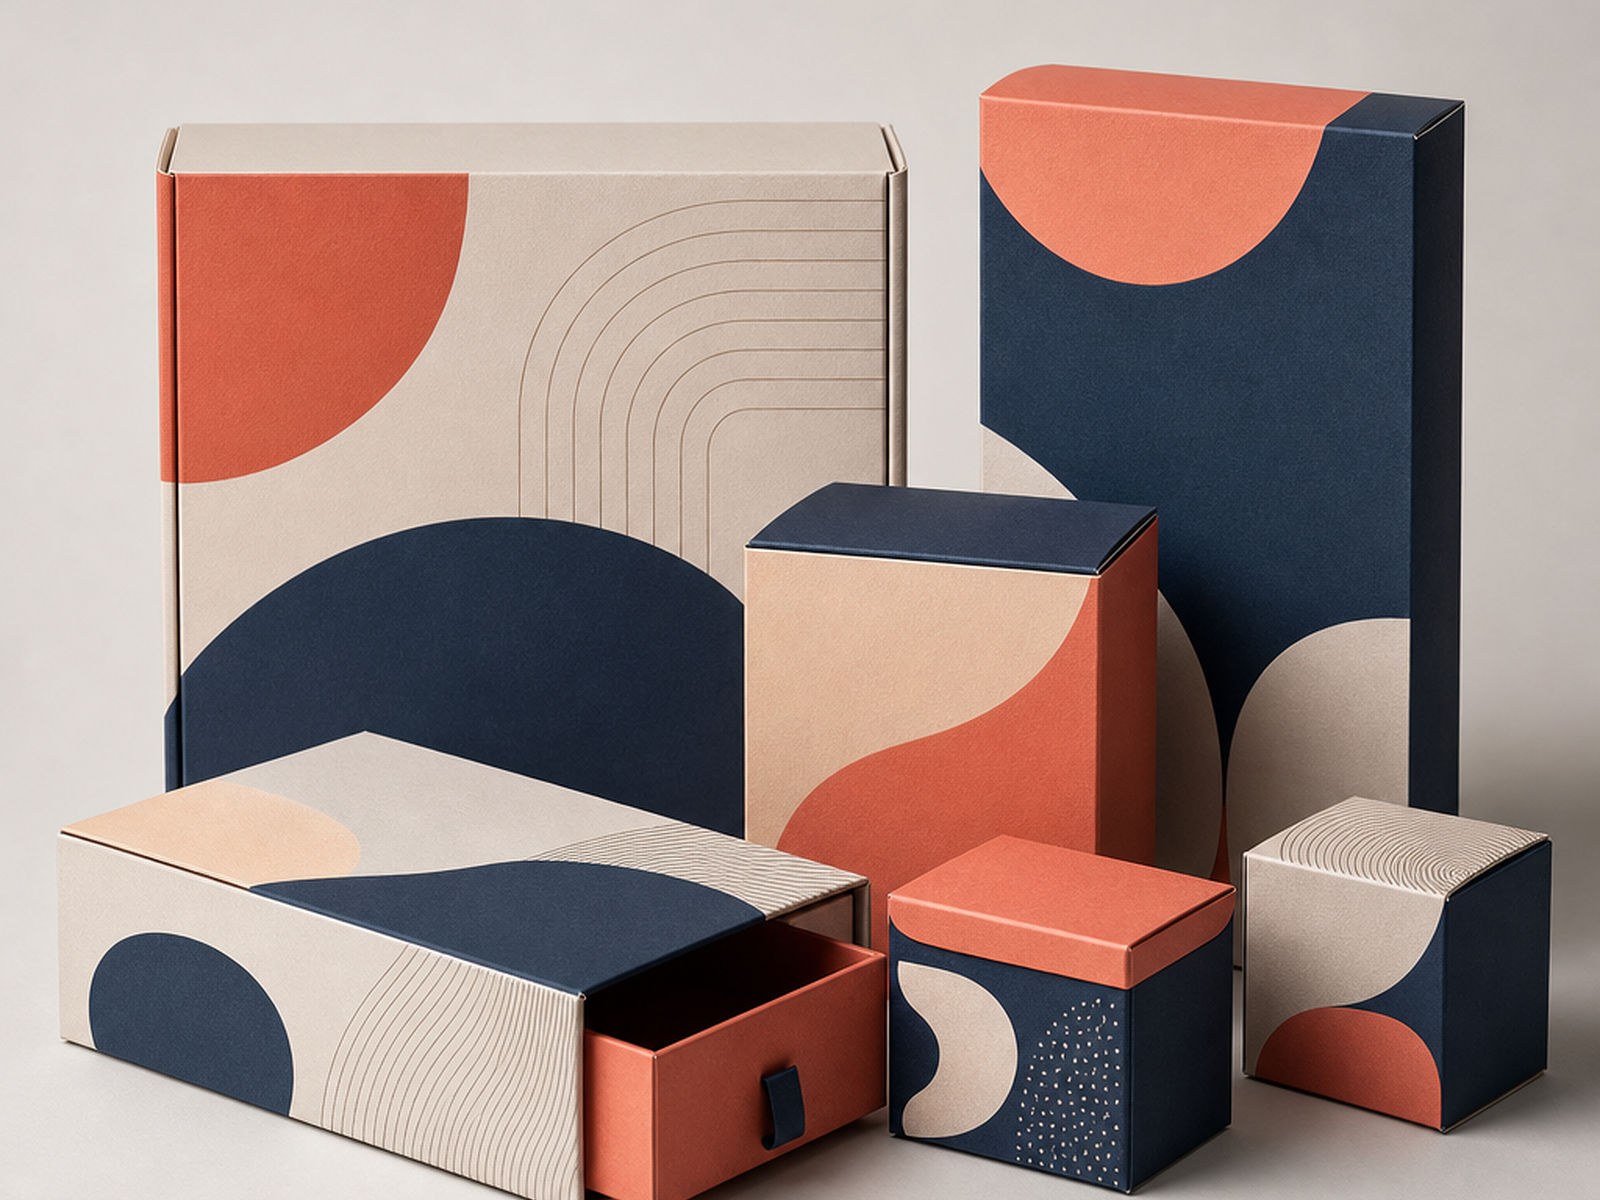
Why File Prep Decides Print Quality
The press can only print what your file contains. Most quality complaints — white slivers at the edge, clipped text, soft images, or a color that shifted — trace back to file setup, not the press. Getting a handful of fundamentals right means your artwork reconciles cleanly to the production dieline and prints the way you designed it.
Print-Ready File Checklist
- Bleed
- Extend art 0.125 in / 3 mm past every trim edge
- Safety zone
- Keep text and logos 0.125 in / 3 mm inside trim
- Resolution
- 300 dpi for raster images at final size
- Color mode
- CMYK; specify spot colors as PMS
- Fonts
- Outline or embed all fonts
- Logos
- Supply vector art where possible
- Dieline
- Keep the dieline on a separate, non-printing layer
Bleed, Trim, and Safety Explained
Every cut has a small tolerance, so three zones protect your design. Bleed is background art extended past the trim, so a slightly off cut never reveals white paper. Trim is where the box is actually cut. Safety is the margin inside the trim where important content lives, so nothing gets clipped. Extending backgrounds to the bleed line and holding logos and copy inside the safety margin eliminates the two most common edge problems.
Color, Resolution, and Fonts
Build files in CMYK and specify brand colors as PMS spot colors so we can match them precisely and hold them consistent across reorders. Set raster images to 300 dpi at final print size — a photo that looks sharp on screen can print soft if its effective resolution is low at box scale. Outline or embed fonts so type doesn't reflow or substitute. Supply logos as vector art (AI, EPS, or vector PDF) so they stay crisp at any size. If you only have raster art, we'll advise and can help rebuild a logo as vector.
Handing Off Files Cleanly
A clean handoff speeds your project. Package your artwork with the dieline on a separate non-printing layer, include any linked images at full resolution, and list your PMS colors explicitly rather than relying on approximate on-screen color. If you're supplying a PDF, export it print-ready with bleed included. Tell us which faces are exterior and which are interior so nothing prints upside down or on the wrong panel. If any element is placeholder or subject to change — a batch code, a variable version — flag it. The more context you provide, the fewer proof cycles it takes to reach a press-ready file.